Difficulty: Easy (Can be more complex depending on what you want)
A Raspberry Pi-powered digital calendar display is a sleek and modern way to stay on top of your schedule. This project is great for productivity to Create a Raspberry Pi Digital Wall Calendar that updates automaticlaly in your kitchen or a team planner in the office.
Start by mounting your Raspberry Pi behind a monitor or an old tablet screen. Load Raspberry Pi OS, then use Chromium in kiosk mode to display a full-screen Google Calendar or a custom dashboard using third party platforms. The third party dashboards like DakBoard often come with a subscription fee but can show calendar events, to-do lists, weather, and even news feeds.
What You’ll Need:
- Raspberry Pi 4 or Raspberry Pi 5 (2GB or 4GB RAM is fine)
- You can do this with other models but running a visual all day and night long will need some good hardware. Again, I will be using a Raspberry Pi 5 8GB in this example.
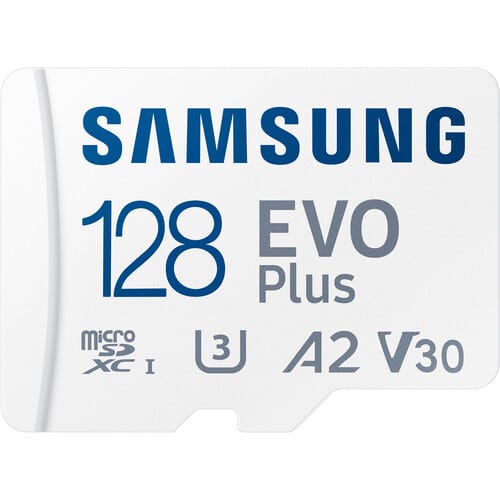
- 128GB Samsung Evo Plus MicroSD Card
- Having 128GB is not necessary, you can use a 64GB or even a 32GB for this project. But, some calendar options you use may need extra storage to show a photo slideshow! For sake of demonstration I will be using a 32GB card for this project again.
- HDMI monitor or tv, can be wall-mounted for extra class
Best MicroSD Card for Raspberry Pi Digital Calendar:
128GB Micro Samsung EVO Plus SDXC Memory Card (MB-MC128SA)
(Pricing as low as $31.90)
128GB Samsung EVO Plus MicroSD Card, engineered for exceptional storage solutions with top-tier performance and versatility. This high-speed card includes…
How to Set Up your Raspberry Pi for a Digital Calendar
- Flash Raspberry Pi OS
- Download Raspberry Pi Imager and flash Raspberry Pi OS to your microSD card.
- Verify the model Pi you are using for 32-Bit or 64-Bit.
- Insert the microSD card into the Pi and power it on.
- Download Raspberry Pi Imager and flash Raspberry Pi OS to your microSD card.


- Connect to the Pi
- Set up your mouse and keyboard to the Pi with the HDMi connected to your tv or monitor.
- You can also SSH into the Pi with
ssh pi@<your-pi-ip>where you fill in your raspberry pi IP address.
- Setting up the Pi
- Start with an update to your Pi OS using
sudo apt-get update && sudo apt-get upgrade -y
- Start with an update to your Pi OS using
Setting up the Shared Calendar on Raspberry Pi Digital Calendar
If you have a publicly available calendar this makes things very easy. All you have to do is set the calendar link in Chromium to be the home page so when Chromium starts up, it opens your calendar. If you have a private calendar however, you will need to sign into the service like Google or Microsoft so that your Pi has priveleges to view the calendar. If you plan on using a private Google calendar, you must log in to your Google Account before proceeding. On occasion you may need to re-sign in to these services, so bookmark this article.
- Set Chromium to start on Bootup
- Start by making the hidden files visible. Open your file explorer and navigate up to “View”, select “Show Hidden Files”.
- Set Chromium to start on Bootup continued…
- The .config file will be visible in your root folder now, open that folder, then open autostart. You can drag and drop the Chromium Web Browswer from the Raspberry Pi menu into this folder. It will add a shortcut that launches the application on boot.
- Setting up the Calendar in Chromium on your Raspberry Pi Digital Calendar
- At this point we just need to set up the calendar. As I said before you can use a public calendar real easy. If you have a private calendar, you will need to sign in and have it remember your password.
- Personally I start with setting the Chromium to Dark mode and setting the text size to large so its visible from afar.
- Next step is to set the “On startup” command to “Open a specific page or set of pages”
- Paste in your public calendar link here.
- Alternatively, set it to the calendar website of your choice if you have a private calendar that needs to be signed in.
- Last step is to
sudo rebootin terminal or simply shut down in the Raspberry Pi menu to test.


Getting the most out of your Raspberry Pi Digital Wall Calendar
This is definitely the most simple and straightforward way to set up a Raspberry Pi Wall Calendar. It is how I have mine set up in my office. However, there are many other options and features you can program in to your Raspberry Pi that will give it your own personal touch. We won’t be getting into many of those features here but we recommend checking out DakBoard and the Magic Mirror Project on the instructables website.


