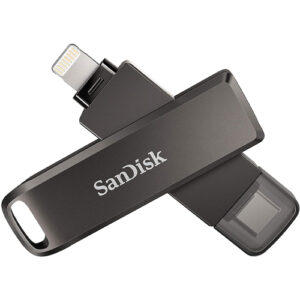
Capturing memories through our iPhones has become a daily habit. However, limited storage space on our devices often presents a challenge. SanDisk makes a product that can offer a solution! And we sell it at wholesale pricing with bulk discounts. With the SanDisk iXpand you can transfer photos from iPhone to a flash drive. By following these steps, you can ensure the safe backup of your important memories and optimize your iPhone’s storage.
iXpand Flash Drive Models
EBS sells two SanDisk iXpand models on our website. The iXpand Go and iXpand Luxe. Both drives come in 3 storage capacities: 64GB, 128GB, and 256GB. The main difference is the Go is USB-A and the Luxe is USB-C. Verify the compatibility with your computer before you buy.
Steps to Transfer Photos from iPhone to Flash Drive
Step 1: Download the SanDisk iXpand App
I was skeptical too. But, this app actually works really well. In the past it may have had some issues but I used it in 2023 and it worked perfectly for me. You can find it on the app store or go to this link. Launch the app on your phone.
Step 2: Connect the Flash Drive to Your iPhone:
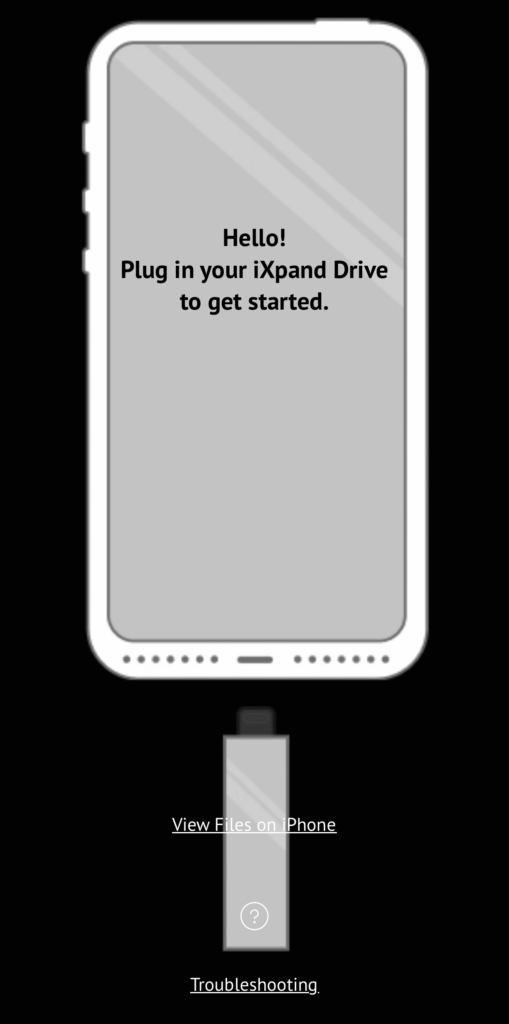
The nice thing about the iXpand drives is they plug directly into your iPhone on one side with a Lightning connection. So, simply enough, plug the iXpand into the Lightning port on your iPhone. You can take the tour if you want, but the app is pretty straightforward. Click “Set up my iXpand Drive”.
Step 3: Setup Automatic Transfer Access:
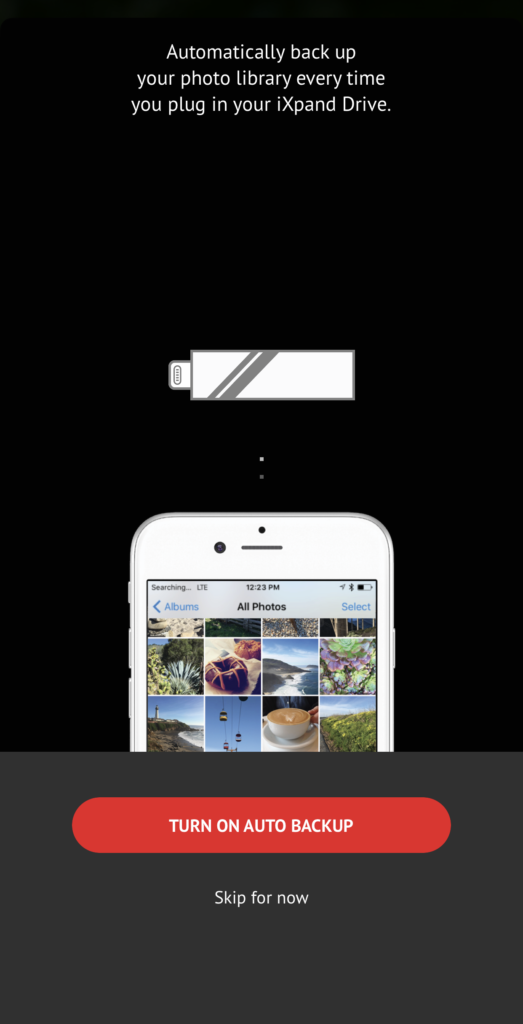
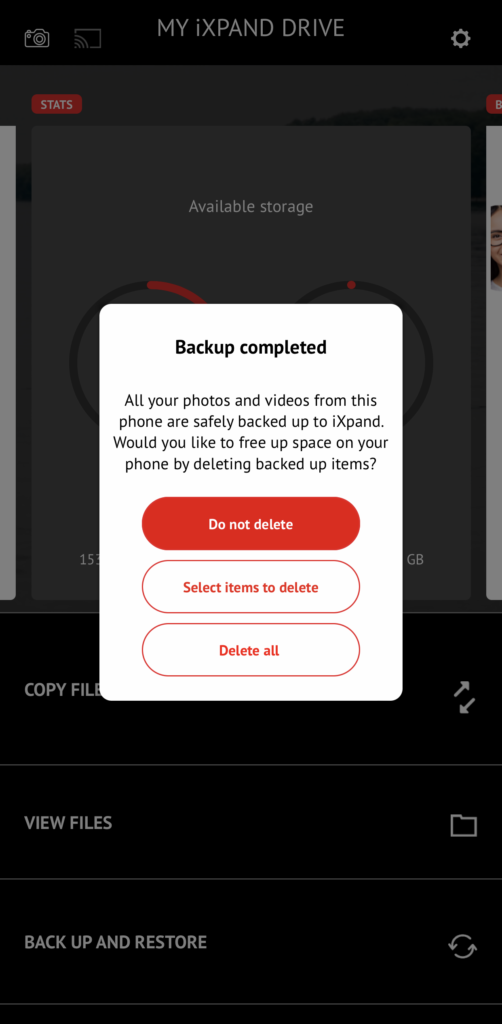
The automatic transfer is pretty neat because of how fast and truly automatic it is. From my experience, this is more convenient than you’d think. If you wanted to quickly copy or backup your photos all you have to do is launch the app, plug in your drive, and it’ll be done copying files soon! To set this up, just choose “Turn on Auto Backup”, it will take you back to the home page while files are transferring. When finished, it will give you an option to delete the photos off of your phone if you want to free up space.
Step 4: Manually Transfer Photos:
It’s possible you dont want to transfer all the photos on your phone and just a selection like a recent vacation. In that scenario you would of course choose “Skip for now”. From the main page choose “Copy Files”. With the iXpand you can transfer in both directions: from a computer, onto the flash drive, then to your iPhone or vice versa. So, to transfer photos from iPhone to flash drive, select the “Copy Photos from iPhone” option. You will choose the photos on your phone you want to transfer, then “Copy to iXpand Drive”.
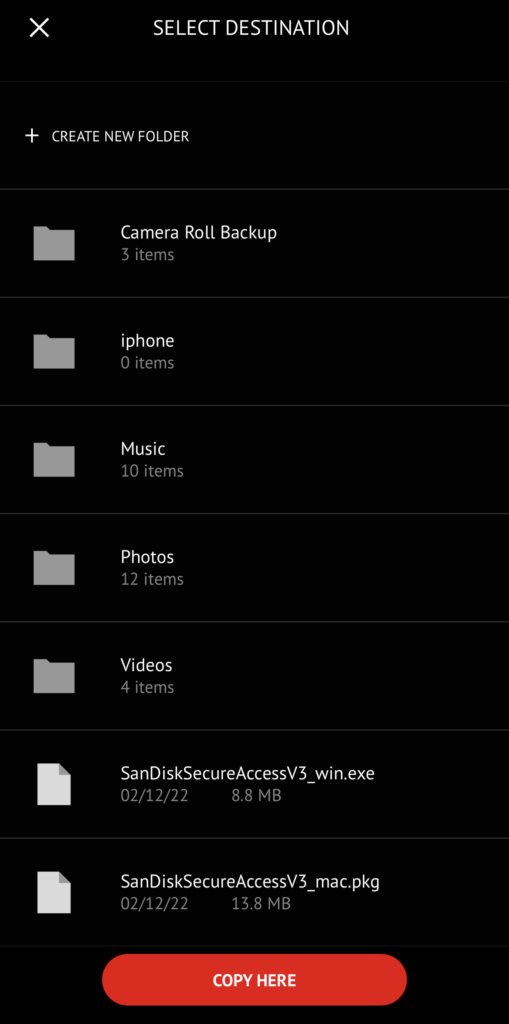
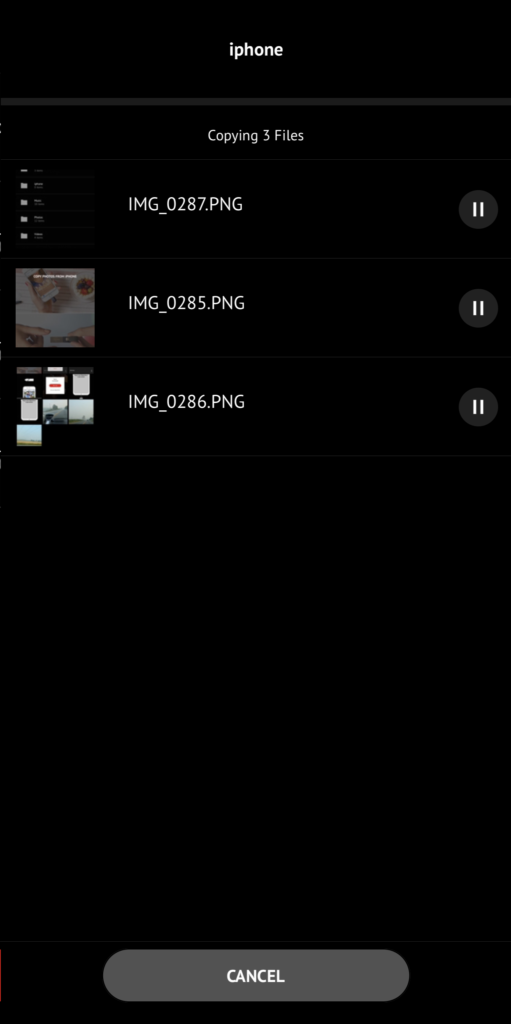
Then, once you’ve selected the location on the iXpand to transfer your photos, select “Copy Here” and the App will carry out the task of copying your pictures. There will be little progress bars on each photo that it transfers. The total transfer time is linked to how many photos you are moving and the file size of those photos. A best practice would be to keep your phone on and awake during this process.
Step 5: Verify Backup Success:
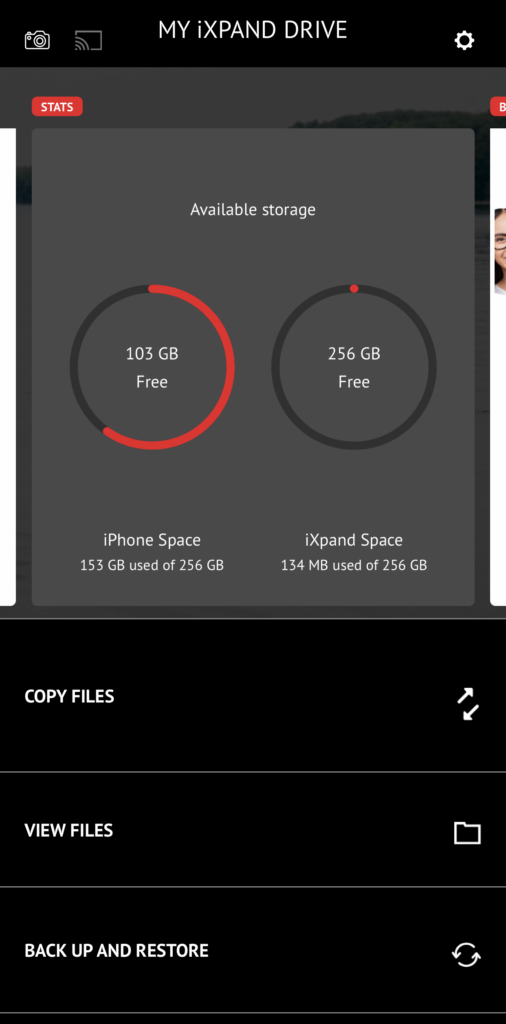
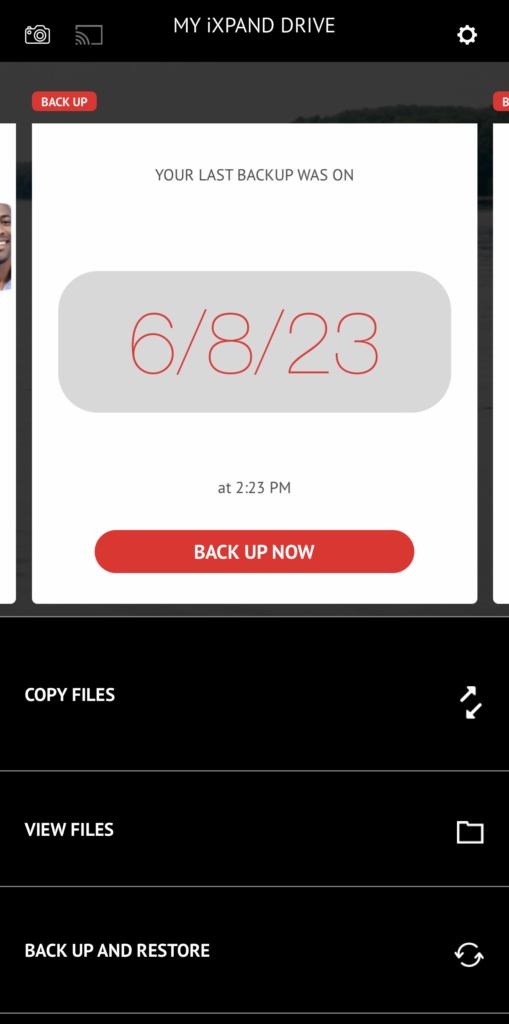
Whether you are automatically backing up or manually transfering you can use the SanDisk app or the Files app to verify that photos have been moved across by navigating to them in the file explorer. But if you used the automatic service you can check the last time you backed up, it will look like this…
Best Practices: Transfer Photos from iPhone
Transferring photos from your iPhone to a flash drive can be a straightforward process by following these steps. There are 2 options, the USB-A iXpand Go and the USB-C iXpand Luxe so remember to choose the compatible flash drive for your computer. Utilize the SanDisk iXpand app to select and copy the desired photos, or use the automatic backup feature. Always verify the success of the backup or copy before deleting files. With these techniques, you can ensure the secure backup of your memories and create more space on your iPhone for capturing new moments! And always shop on our website to save money with wholesale pricing and bulk discounts on flash drives and memory cards.


